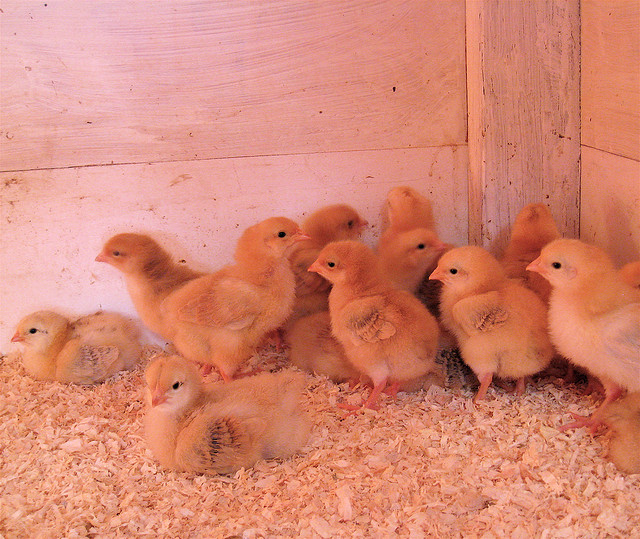

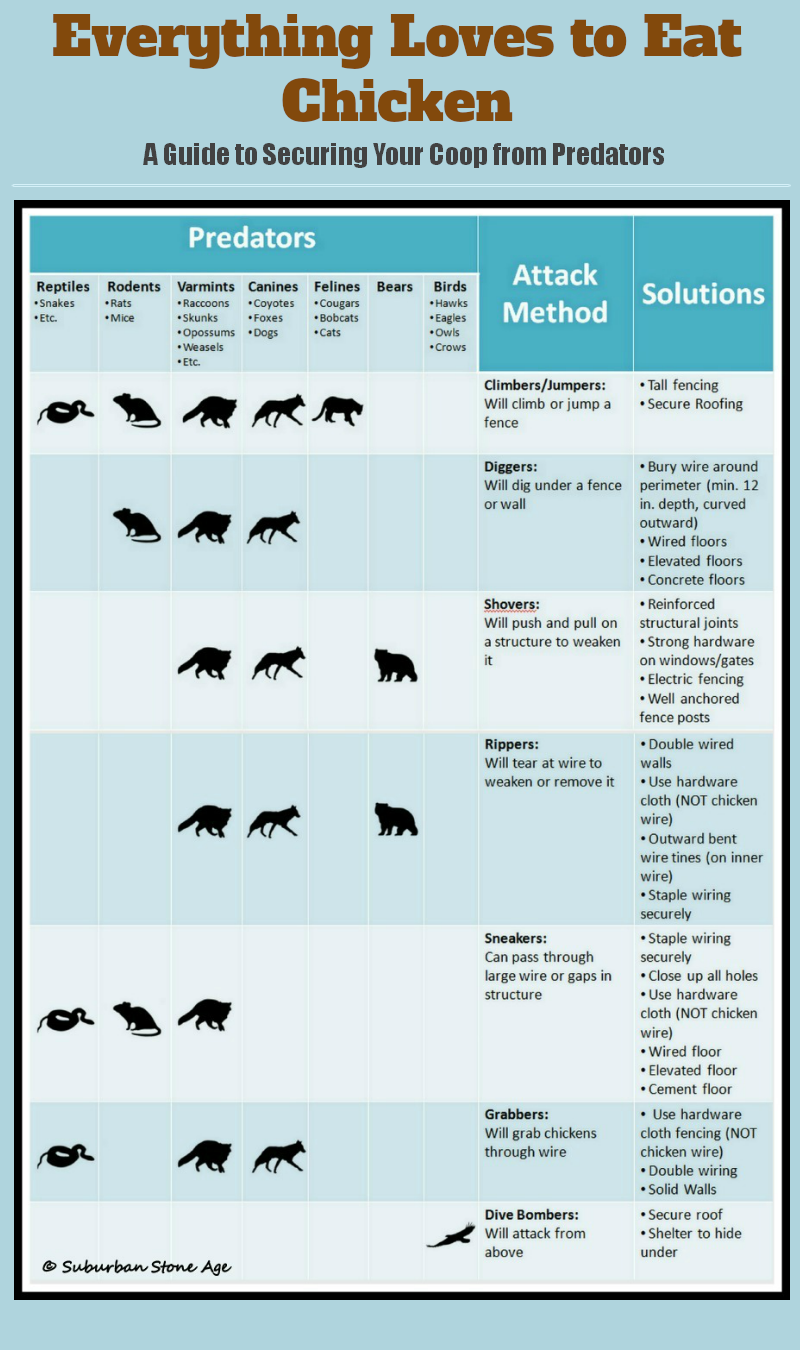
The info-graphic below provides a great summary of the passive measures you can take to protect your flock from various predators but it is 2016 and you probably have more computing power in your smart phone now than NASA had on the moon lander when they put a man on the moon.
So lets look at some technology solution to enhance your physical chicken predator measures such as fencing.
1. Predator Guard Solar Power Deterrent Light
This deterrent light works by simulating the reflection of the eyes of a larger predator to create fear and uncertainty in nocturnal animals.
Wild animals that hunt or feed at night are acutely aware of their surroundings. They will only feed in a safe area
where they will not be noticed. Predator Guard introduces a pair of flashing lights that an animal assumes is a set of eyes.
This disrupts their sense of safety and makes them immediately flee your property.
At under $30 from Amazon this device is a good investment even if it only deters one attack on your flock.

Predator Guard Solar Powered Predator Deterrent Light
2. Garden Owl
An eco friendly alternative to other pest management solutions is this realistic looking horned owl decoy. The head moves in a realistic fashion drive by the solar panel installed in the head of the decoy scaring away garden pests and smaller predators. Available from Amazon.

3. Foxlights Night Predator Deterrent
Unlike the predator guard lights above that simulate the eyes of a larger predator, this system operates by creating a random set of lights to create the impression that an area is occupied. The sequence is random so the idea is to create uncertainty in the mind of the predators by not having a pattern for them to learn from.

It is worth pointing out that the technology above is not meant to replace physical protective measures like fences, but will enhance protection of your flocks and crops.
Some breeds of chickens also have much better instincts when it comes to predator awareness. Check out our guide or subscribe below to get a copy of our guide to selecting the best backyard chicken breed that identifies the breeds with the best predator awareness instincts.
Check out other cool eco friendly gadgets for the home here from our friends at GoGetEco.com. Also check out their high tech eco friendly gadgets for the garden here.
Click here to get your members only "Guide to Selecting the Best Backyard Chicken Breed"
 fection were traced to an unidentified mail-order hatchery.


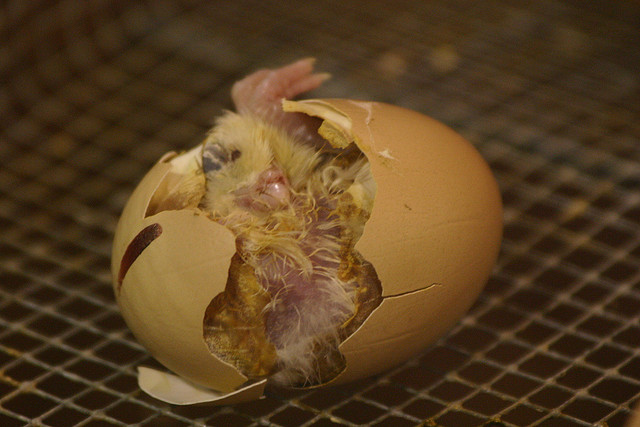

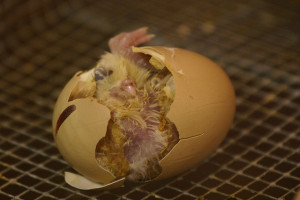 affects how much moisture is lost from the eggs during incubation. Fortunately most incubators create their own humidity through the use of water trays. (Tip – always use Luke warm water when you refill these water trays). The ideal humidity for hatching your backyard chickens is around 50-55% for the first 18 days and 65-70% in the final three days before hatching.